

There’s a specific kind of disappointment that happens at about 11 pm, somewhere far from city lights, when you hold your phone up to one of the most spectacular skies you’ve ever seen and get back a black rectangle.
Maybe a few white dots. Grainy ones.
The sky above you is doing something remarkable. The arm of the Milky Way, the actual physical structure of our galaxy, is stretched across the darkness like a river made of three hundred billion suns. Your eyes can see it. Your brain knows it’s there. And your phone, the device that cheerfully photographs your lunch in stunning detail, has returned nothing.
This used to mean you needed a DSLR, a proper tripod, a remote shutter, a dark-sky location you’d scouted months in advance, and somewhere between four and six hours of your Saturday night. It was a hobby with a steep entry fee.
It isn’t anymore. Not quite.
Today’s smartphones can capture surprisingly detailed photos of the Milky Way with the right settings, a stable surface, and genuinely dark skies. You don’t need an expensive camera to get started, just realistic expectations and a little preparation. Milky Way photography with smartphone cameras is easier than ever before.
What You’ll Need
Before you head out, make sure you have:
- Smartphone with Night Mode or Manual/Pro Mode
- Dark sky (Bortle Class 4 or darker)
- Stable support or tripod
- Clear, moonless night
- Fully charged battery
- Patience
These essentials provide everything you need to get started with Milky Way photography with smartphone cameras under dark skies.
How Smartphones Capture the Milky Way
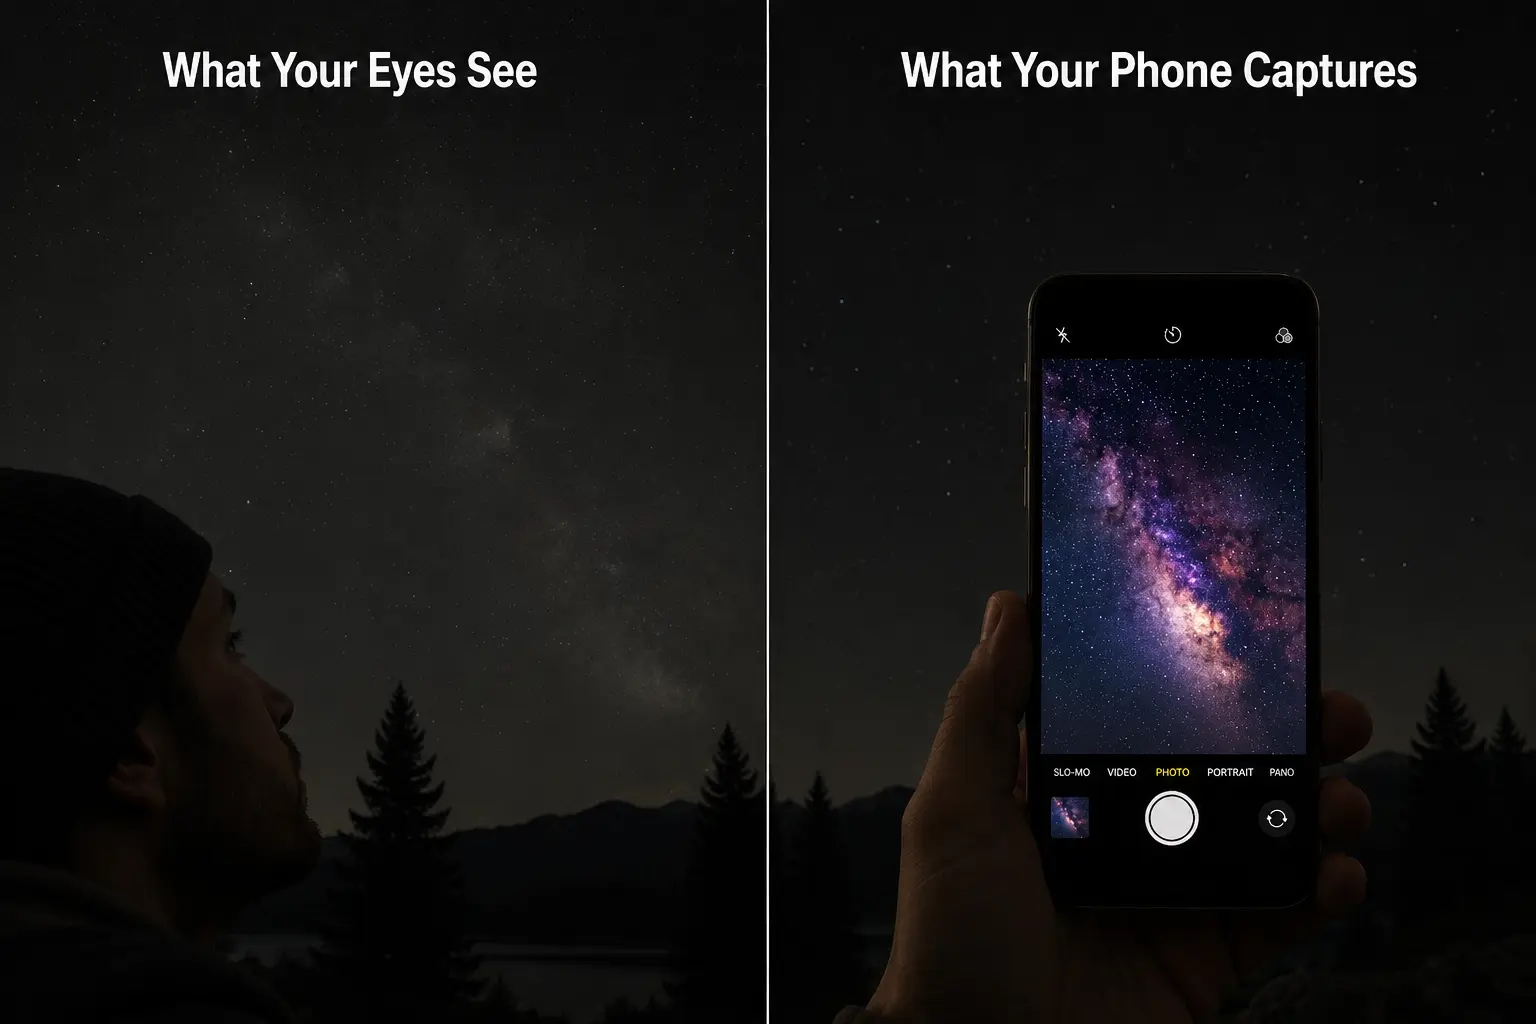
Here’s something that doesn’t get said enough: your phone, if you know what to do with it, will show you a sky your naked eye cannot see.
Not a fake sky. The real one — more of it.
Human eyes evolved for motion and survival, not deep-sky observation. In darkness, the color-sensing cones in your retina more or less switch off, leaving you with the rod cells, which are sensitive but colorblind. The Milky Way in person looks like a pale, silvery smear. Dramatic, yes. Colorful, no.
A camera sensor doesn’t have this problem. Leave a smartphone shutter open for fifteen seconds and it acts like a bucket in the rain, accumulating photons, including the subtle reddish glow from hydrogen clouds, the cold blues of dust clouds, the subtle purples of ionized gas.
The computational photography stack inside your phone then stacks and processes that light, and what you get back on screen is something between a photograph and a scientific image.
The colors are real. The detail is real. You aren’t adding anything that isn’t there. You’re just collecting more of it than a human retina can manage in one glance.
One honest caveat: this only works under a genuinely dark sky. Not “suburban dark” or “camping dark near a major highway”. The kind of dark where your eyes take 20 minutes to fully adjust, where you can hold your hand up and not quite see it. Bortle Class 4 or darker, if you know that scale. If you’re unsure whether your location qualifies, the light pollution map at lightpollutionmap.info will tell you before you make the drive. If you’re planning a night under the stars, our guide to Predator Awareness While Stargazing will help you stay safe while enjoying remote dark-sky locations.
Best Time of Year to Photograph the Milky Way
The Milky Way’s bright core, the region toward the center of the galaxy in the direction of Sagittarius and Scorpius, is only visible from the Northern Hemisphere during certain months of the year. Roughly April through October, with June through August being the prime window when the core rises high enough to actually photograph.
Outside those months, the galactic center sits below the horizon entirely. You can still photograph stars and star trails in winter, and winter skies have their own beauty, but the classic Milky Way arch? That’s a warm-weather thing.
Check a sky app before committing to a night out. New moon (or close to it) is the other variable. A full moon in July is nearly as bad as moderate light pollution — it drowns out the faint stuff entirely. The four or five days before and after new moon give you the darkest conditions.
Plan one thing at a time. Find your dark sky location first. Then check the moon phase. Then check the weather. Even thin clouds, haze, humidity, or wildfire smoke can dramatically reduce contrast, making the Milky Way much harder to photograph than a clear forecast alone might suggest.
How to Stabilize Your Phone for Astrophotography: No Tripod Needed
Sharpness is everything in astrophotography.
You are photographing objects so faint that the camera needs ten to thirty seconds just to collect enough light to show them. During those thirty seconds, any movement at all — hand tremor, wind, someone walking nearby, the ground shifting slightly — will smear those pinpoint stars into short streaks.
A proper tripod costs $40 to $200. It’s worth owning if you do this more than twice. But if you’re reading this on a hiking trail somewhere and the sky just opened up, you can improvise.
- The boot cradle. This is the one that actually works. Take off a hiking boot (it’s insulated, stiff, holds its shape), lay it on a flat surface, and wedge your phone lengthwise into the ankle collar. Point it toward the sky. The boot distributes the weight and absorbs vibration better than most improvised rigs.
- The water bottle lean. A full 1L bottle on flat ground, phone propped against it, stabilized at the base with a small stick or pebble. Less stable than the boot, but usable.
- The flat-face rock angle. Place the phone face-down on a smooth rock with the lens hanging over the edge, pointing directly up at the zenith. Good for straight-up shots of whatever is overhead. Less good if you want to frame something on the horizon.
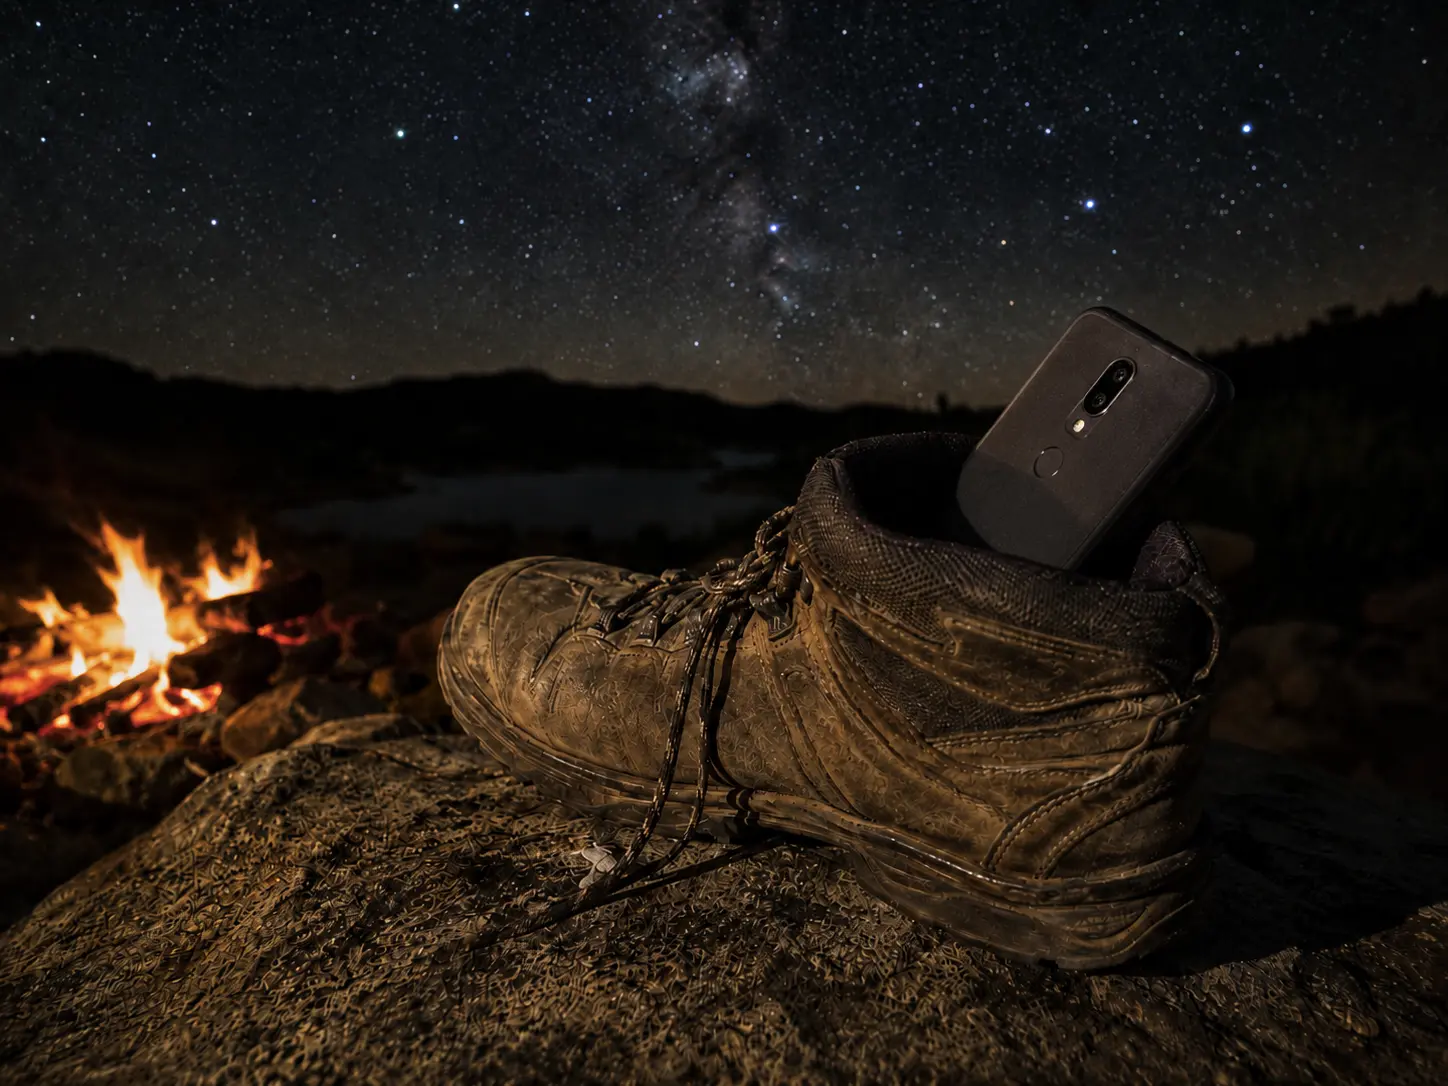
None of these are as reliable as a tripod. Worth saying plainly.
One more thing, regardless of which method you use: set a two-second or ten-second timer delay before the shutter fires. The act of pressing the shutter button with your finger introduces enough vibration to affect the image. The timer gives the phone a moment to settle.
Best Camera Settings for Milky Way Photography with Smartphone
iPhone
iPhones don’t expose raw manual controls to the user, at least not in the native camera app. What they do have is Night Mode, the crescent moon icon that appears automatically in low light, and for Milky Way photography, you want to push it to its maximum exposure time.
Open the camera. In dark conditions, Night Mode activates on its own. Tap the crescent icon at the top of the screen, then drag the slider all the way to Max. Depending on how dark your environment is, this will give you anywhere from a 10-second to 30-second exposure.
Lock your focus manually. Tap and hold on a bright star in the frame until the yellow box locks (you’ll see AE/AF LOCK appear). This stops the phone from hunting for focus in the dark.
If you want more control over ISO and shutter speed independently, apps like Halide or NightCap Camera hand that over. They’re worth the few dollars if astrophotography becomes a regular thing.
Android
Android varies more across manufacturers, but nearly every flagship from the last four years has a Pro or Manual mode. Swipe to find it.
Once you’re in:
- ISO: 1600 or 3200. Higher values mean the sensor is more sensitive to faint light, but also more sensitive to electronic noise — the grainy texture in dark images. 3200 captures more of the sky; 1600 produces a cleaner image. On a very dark night, 1600 is often enough.
- Shutter speed: 15 to 25 seconds. Longer isn’t always better, if the shutter stays open too long, the Earth’s rotation causes star trails rather than points. At a standard wide-angle field of view, 25 seconds is roughly the limit before stars start to elongate noticeably. A useful rule of thumb is the 500 Rule: divide 500 by your full-frame equivalent focal length to estimate the longest exposure before stars begin to trail. For a smartphone with a typical 26 mm equivalent lens, that’s around 19 seconds. Keep in mind that computational photography and different camera sensors mean the exact limit varies between devices.
- Focus: infinity. Look for the mountain icon, or a slider that goes from “macro” to “∞.” In near-total darkness, autofocus has nothing to lock onto and will hunt indefinitely, producing a blurry frame. Set it manually and leave it.
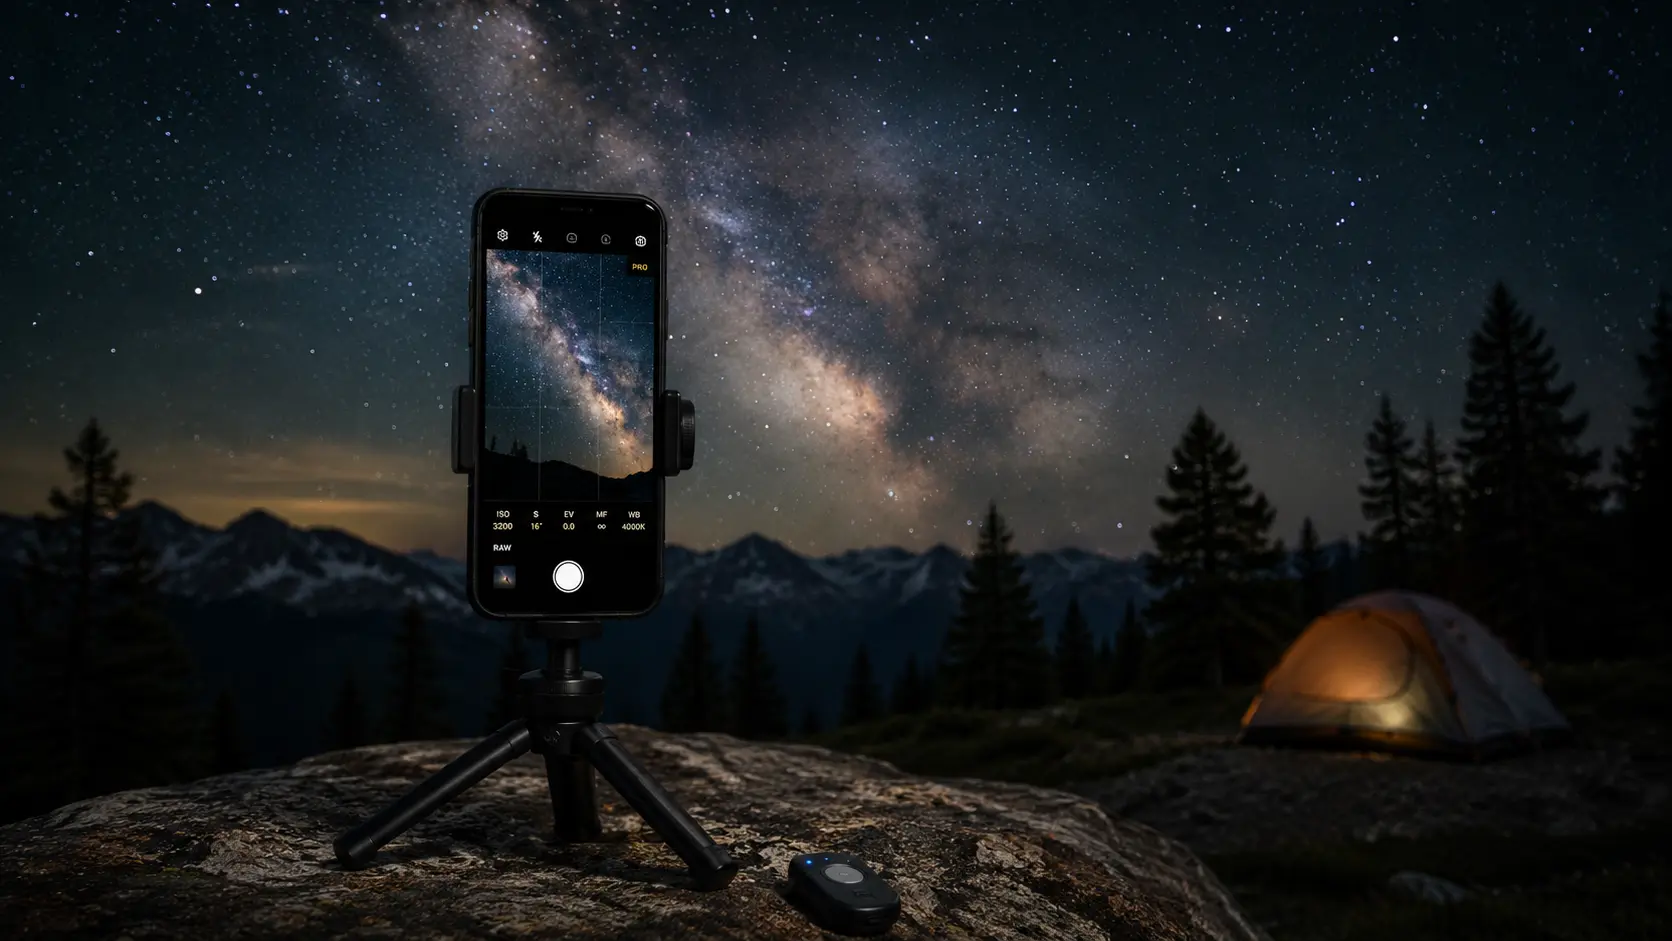
These settings are an excellent starting point for Milky Way photography with smartphone cameras, though you may need to fine-tune them depending on your phone model and sky conditions.
If your phone supports RAW (DNG) capture, use it. RAW files preserve more image data than JPEGs, giving you greater flexibility when reducing noise and recovering faint details during editing.
How to Find and Frame the Galactic Core
Here’s where people go wrong: they point the phone generally “up” and hope.
The Milky Way has a center; the galactic core, and it’s orders of magnitude brighter and more detailed than the rest of the band. It sits in the direction of the constellation Sagittarius, low in the southern sky for Northern Hemisphere observers during summer months. It looks almost like a cloud when you find it: a dense, luminous bulge in the band of the galaxy.
Download Stellarium (free) or Star Walk before you lose cell service, and use it to locate Sagittarius. Switch the app to night mode, it turns the interface red to preserve your adapted night vision, and confirm the core is above the horizon.
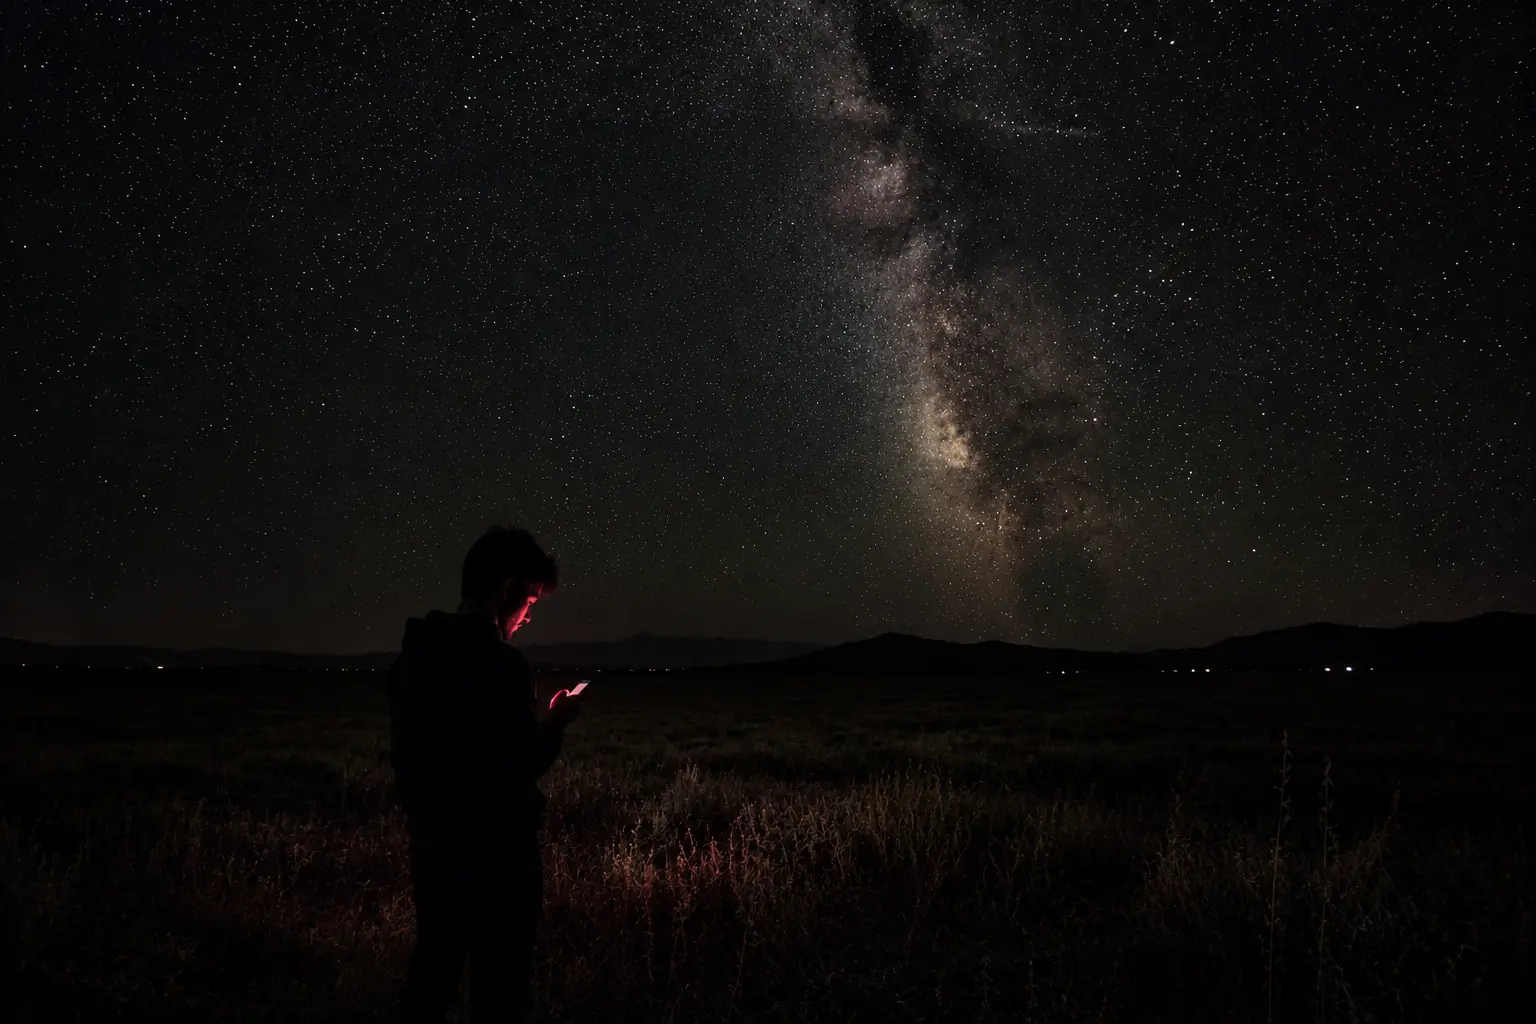
If it’s early in the night, say 10 pm in June, the core might still be low. Low is fine. Low actually produces dramatic foreground compositions. What you want to avoid is photographing the region of sky away from the core, which is relatively featureless by comparison.
Editing Milky Way Photos on Your Phone
Phone astrophotography images almost always benefit from some adjustment. Not heavy editing, just pulling out what the sensor captured.
In Snapseed or Lightroom Mobile: raise highlights slightly, drop shadows even more slightly, increase clarity to bring out the texture in the nebulae, and reduce noise if the image looks overly grainy. That’s it. You’re not adding anything that wasn’t already captured, you’re just making the data easier to see.
What you should not do is crank saturation until the sky turns magenta. The colors in a Milky Way photograph are subtle. Oversaturating them makes the image look processed rather than astronomical.
Always keep the original image untouched. Save a copy before editing so you can compare your final result with the unedited photo or start over if you push the adjustments too far.
Quick Troubleshooting
| Problem | Quick Fix |
|---|---|
| Blurry photo | Stabilize the phone, use a timer, lock focus. |
| Too much noise | Lower ISO or photograph under darker skies. |
| Can’t see Milky Way | Check the moon phase, light pollution, and weather. |
| Star trails | Reduce exposure time. |
Mastering Milky Way photography with smartphone cameras takes practice, but every session teaches you something new about both your equipment and the night sky.
One Last Thing
The galaxy in those photos is not somewhere out there, distant and separate.
The Milky Way is our galaxy. The sun is one of its stars. Earth is one of its planets. When you photograph that band of light arching across the sky, you are, in a very literal sense, photographing your own neighborhood from the inside, looking sideways along the disk you’re embedded in.
That takes a moment to actually land.
Go find somewhere dark enough for it to land.
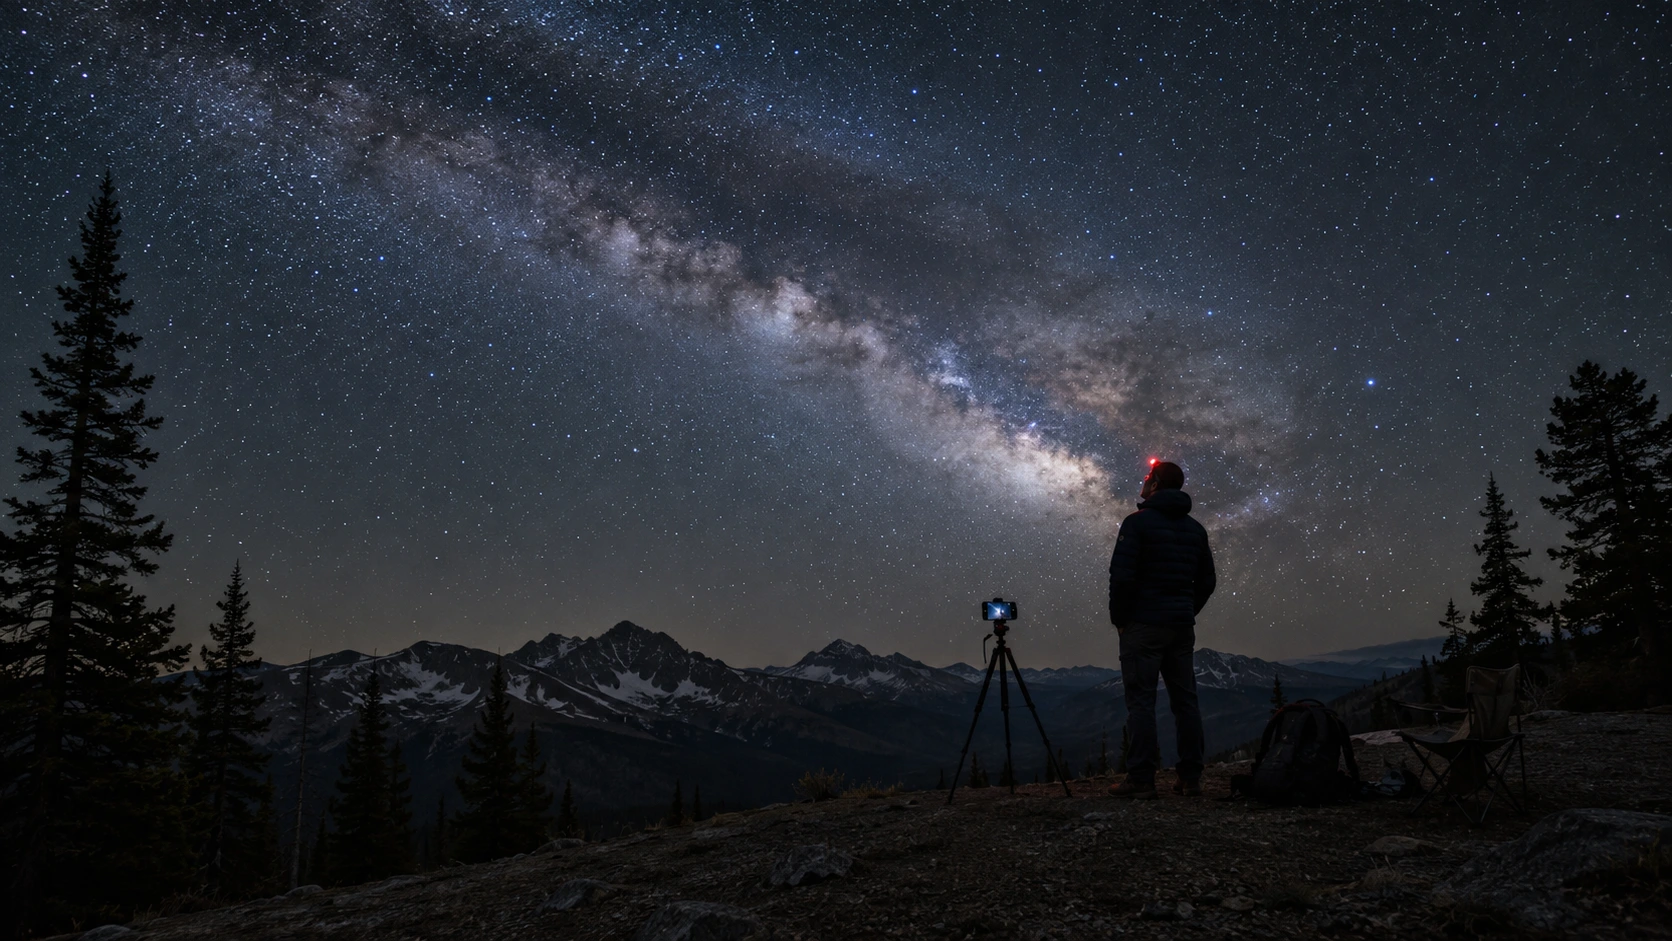
Planning a longer astronomy adventure? Read NASA in a Van: 5 Space Technologies for Off-Grid Living to discover space-inspired gear that makes camping under the stars even more enjoyable.
Frequently Asked Question
Yes, but results depend on the phone’s camera capabilities. Most modern flagship smartphones with Night Mode or a Manual/Pro mode can capture the Milky Way under dark skies. Older or entry-level phones may still photograph bright stars, but they’ll struggle to record the galaxy’s faint details.
A tripod gives the sharpest and most consistent results, but it isn’t essential. Any stable surface—such as a hiking boot, rock, backpack, or water bottle—can keep your phone steady during long exposures. Just remember to use a 2- or 10-second timer to prevent vibrations when pressing the shutter.
A good starting point is ISO 1600 to 3200 when shooting in Manual or Pro mode. Lower ISO values produce cleaner images with less digital noise, while higher ISO settings capture more light but can make photos appear grainy. Experiment with both depending on your phone and the darkness of the sky.
The Milky Way is surprisingly faint. Light pollution, moonlight, haze, thin clouds, or even nearby artificial lights can hide it from view. For the best results, choose a moonless night, let your eyes adjust to the dark for at least 20 minutes, and photograph from a location with a Bortle Class 4 sky or darker.
Yes, but not the bright galactic core that most people associate with Milky Way photography. During winter in the Northern Hemisphere, the core lies below the horizon, though you can still capture the fainter sections of the Milky Way along with beautiful winter constellations and star fields.