

There is a detail in the official guidance that most kit articles skip, and it changes what you should actually build.
The 72-hour emergency kit is the evacuation standard: three days of supplies you can pick up and carry. For sheltering in place at home, the American Red Cross recommends a two-week supply of food and water. FEMA’s current guidance is similar in spirit, asking for one gallon of water per person per day for several days and a several-day supply of non-perishable food.
Most emergencies do not involve leaving. They involve the power being out, the water being unsafe, and the shops being shut. So the practical answer is two things: one portable kit you could carry out of the door in thirty seconds, and a larger home supply that never leaves the house.
This is not about disaster fantasy. It is about a week without power being annoying rather than frightening.
Water: the number to get right
One gallon per person per day, and the guidance is explicit that this covers drinking and sanitation, not drinking alone.
That second part is the one people underestimate. Washing, cleaning a wound, and flushing a toilet all come out of the same allocation.
Now do the arithmetic, because it is the single most clarifying calculation in emergency planning. A US gallon of water weighs about 8.3 pounds, or 3.8 kilograms. For a family of four:
- Three days, evacuation: 12 gallons, roughly 100 pounds or 45 kilograms.
- Two weeks, at home: 56 gallons, roughly 465 pounds or 210 kilograms.
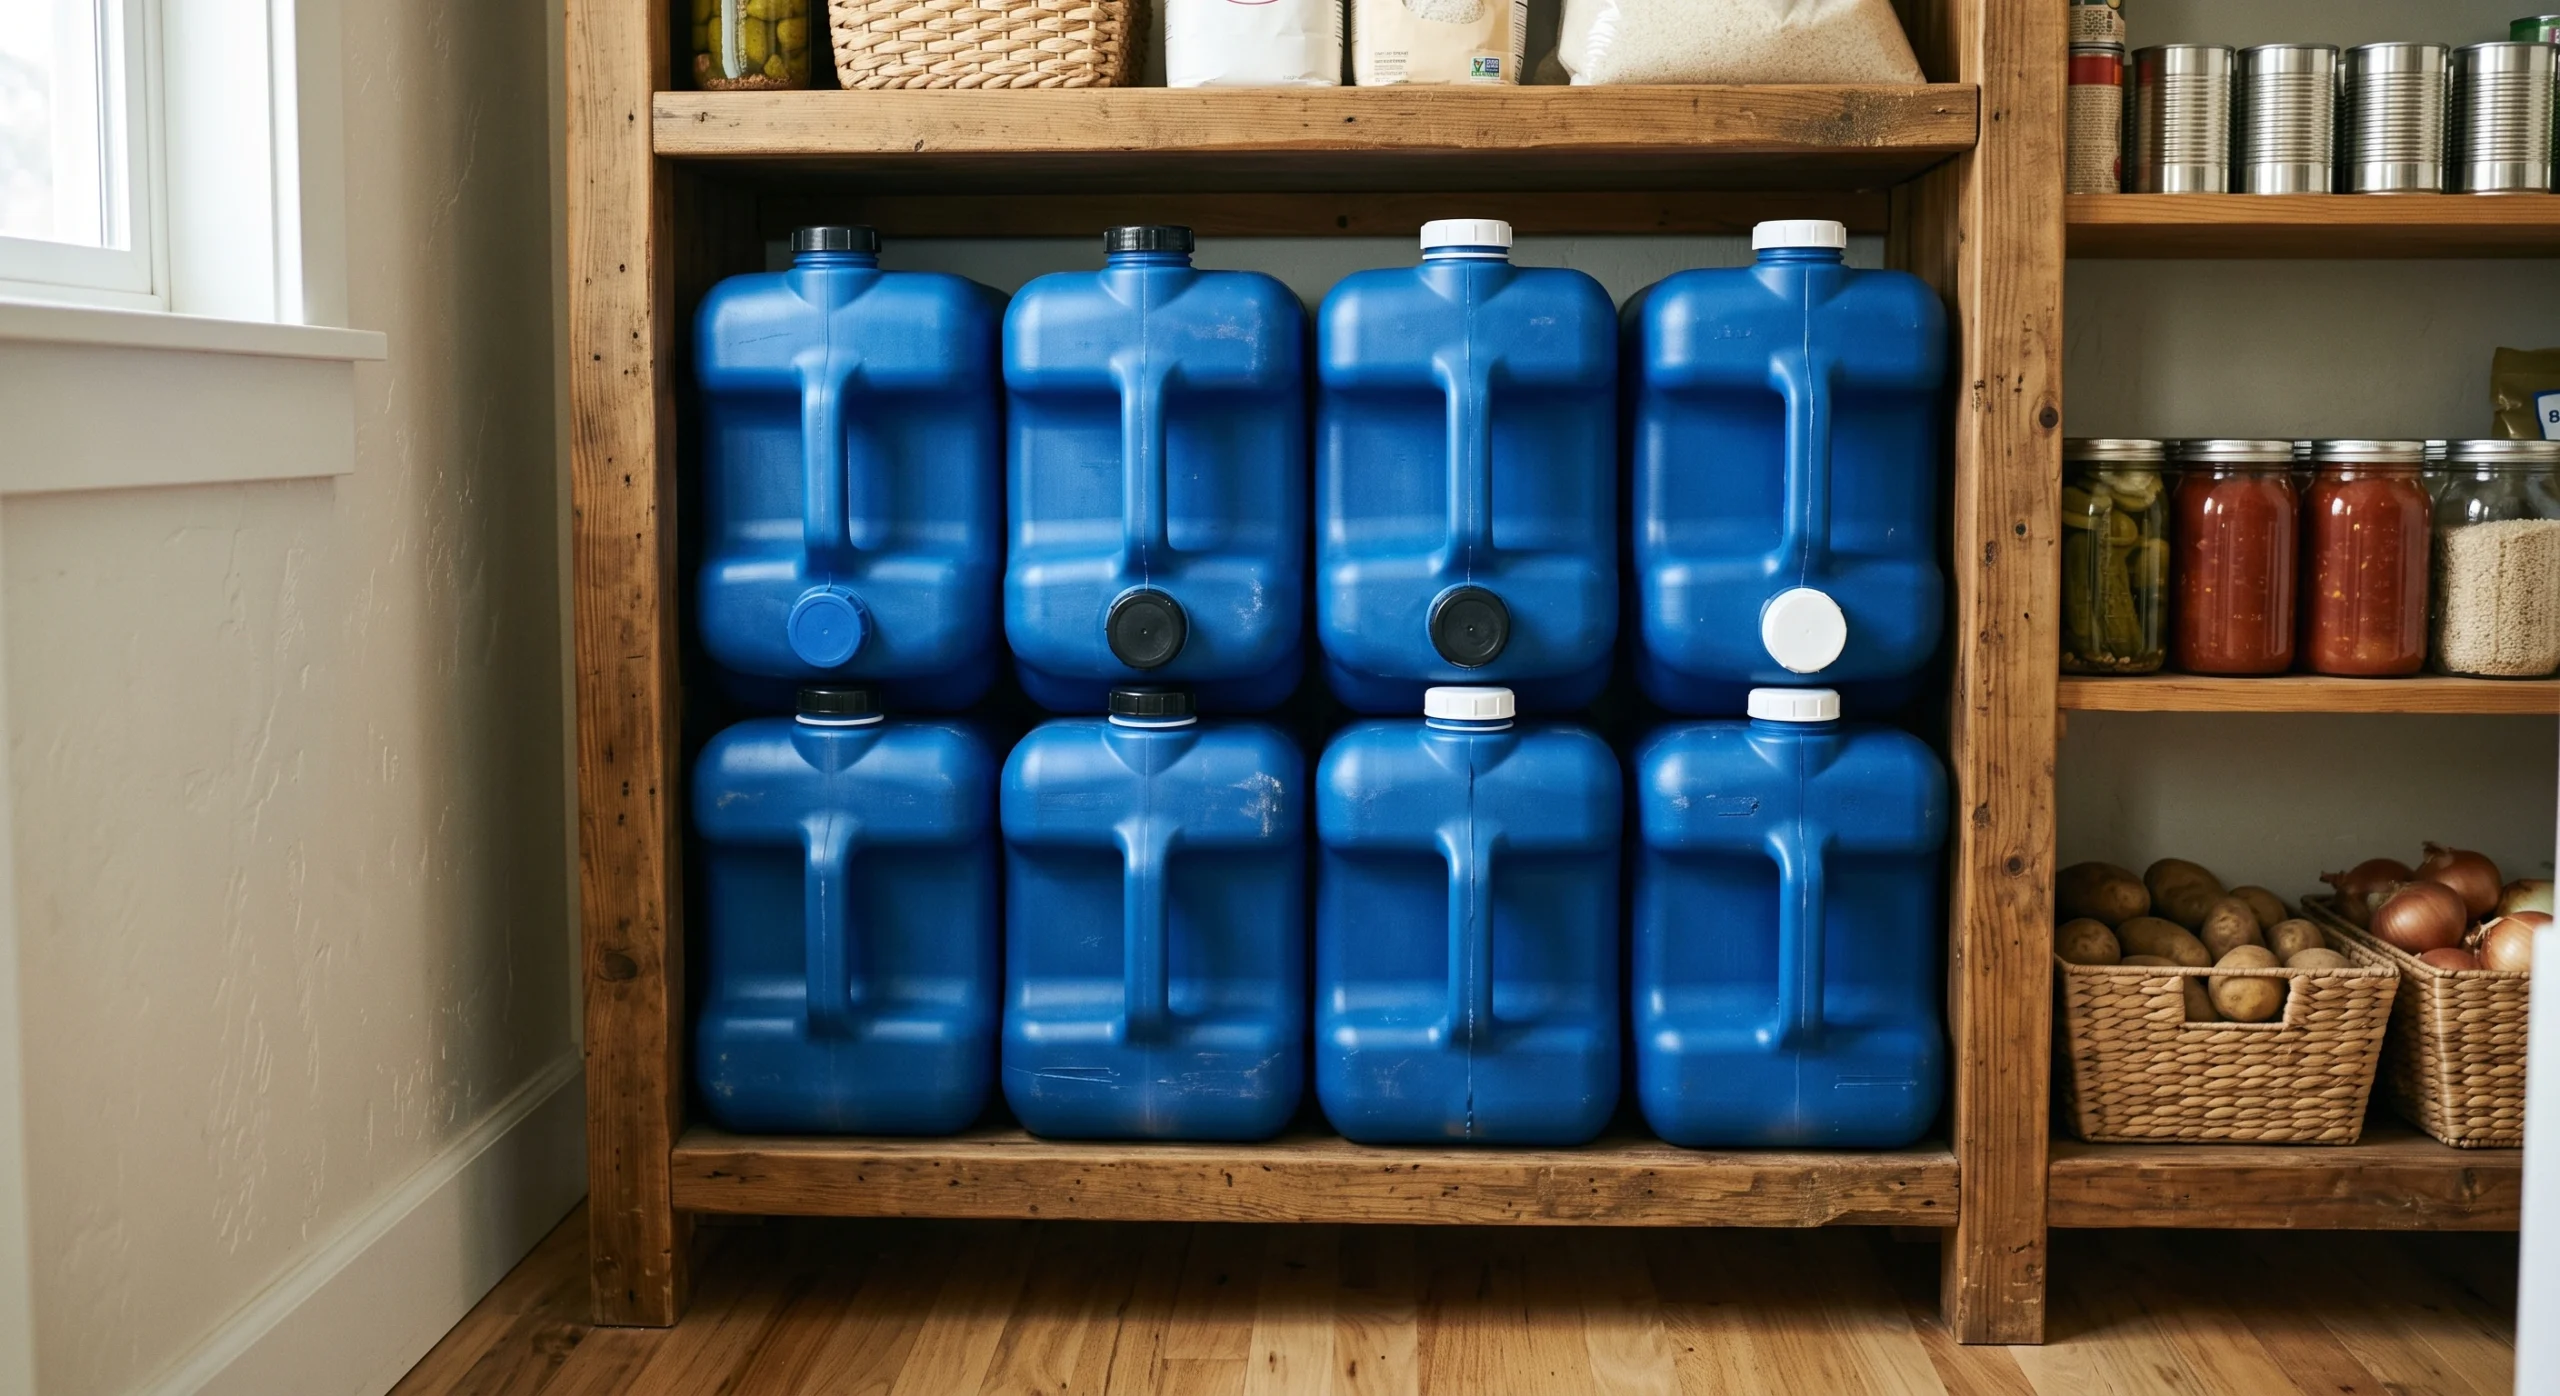
The evacuation figure alone is more than most people can carry, which is why a grab-and-go kit realistically holds a day of water and a way to treat more, not three days of it. The two-week figure is not portable at all, and it does not need to be. It lives in a cupboard.
Store it in clean, sealed, food-grade containers, kept dark and cool. Water itself does not spoil, so a sealed commercial bottle in a dark cupboard is fine for a long time, but home-filled containers should be rotated. Commercially sealed emergency water pouches typically carry around a five-year shelf life.
If you do one thing after reading this, buy water. It is cheap, it is the thing you will run out of first, and it is the item that has no substitute.
Food, chosen for the actual situation
At least three days for the portable kit, and the Red Cross recommends two weeks at home, of food that needs no cooking, no refrigeration and little or no water.
That last constraint rules out more than people expect. Dried pasta and rice need water you may not be able to spare and heat you may not have. The food that works in an outage is tinned, in liquid, and edible cold.
| Practical choices: tinned beans, tinned fish and meat, tinned fruit and vegetables in their own juice, peanut butter, nuts, dried fruit, crackers, long-life milk, and ready-to-eat pouches. |
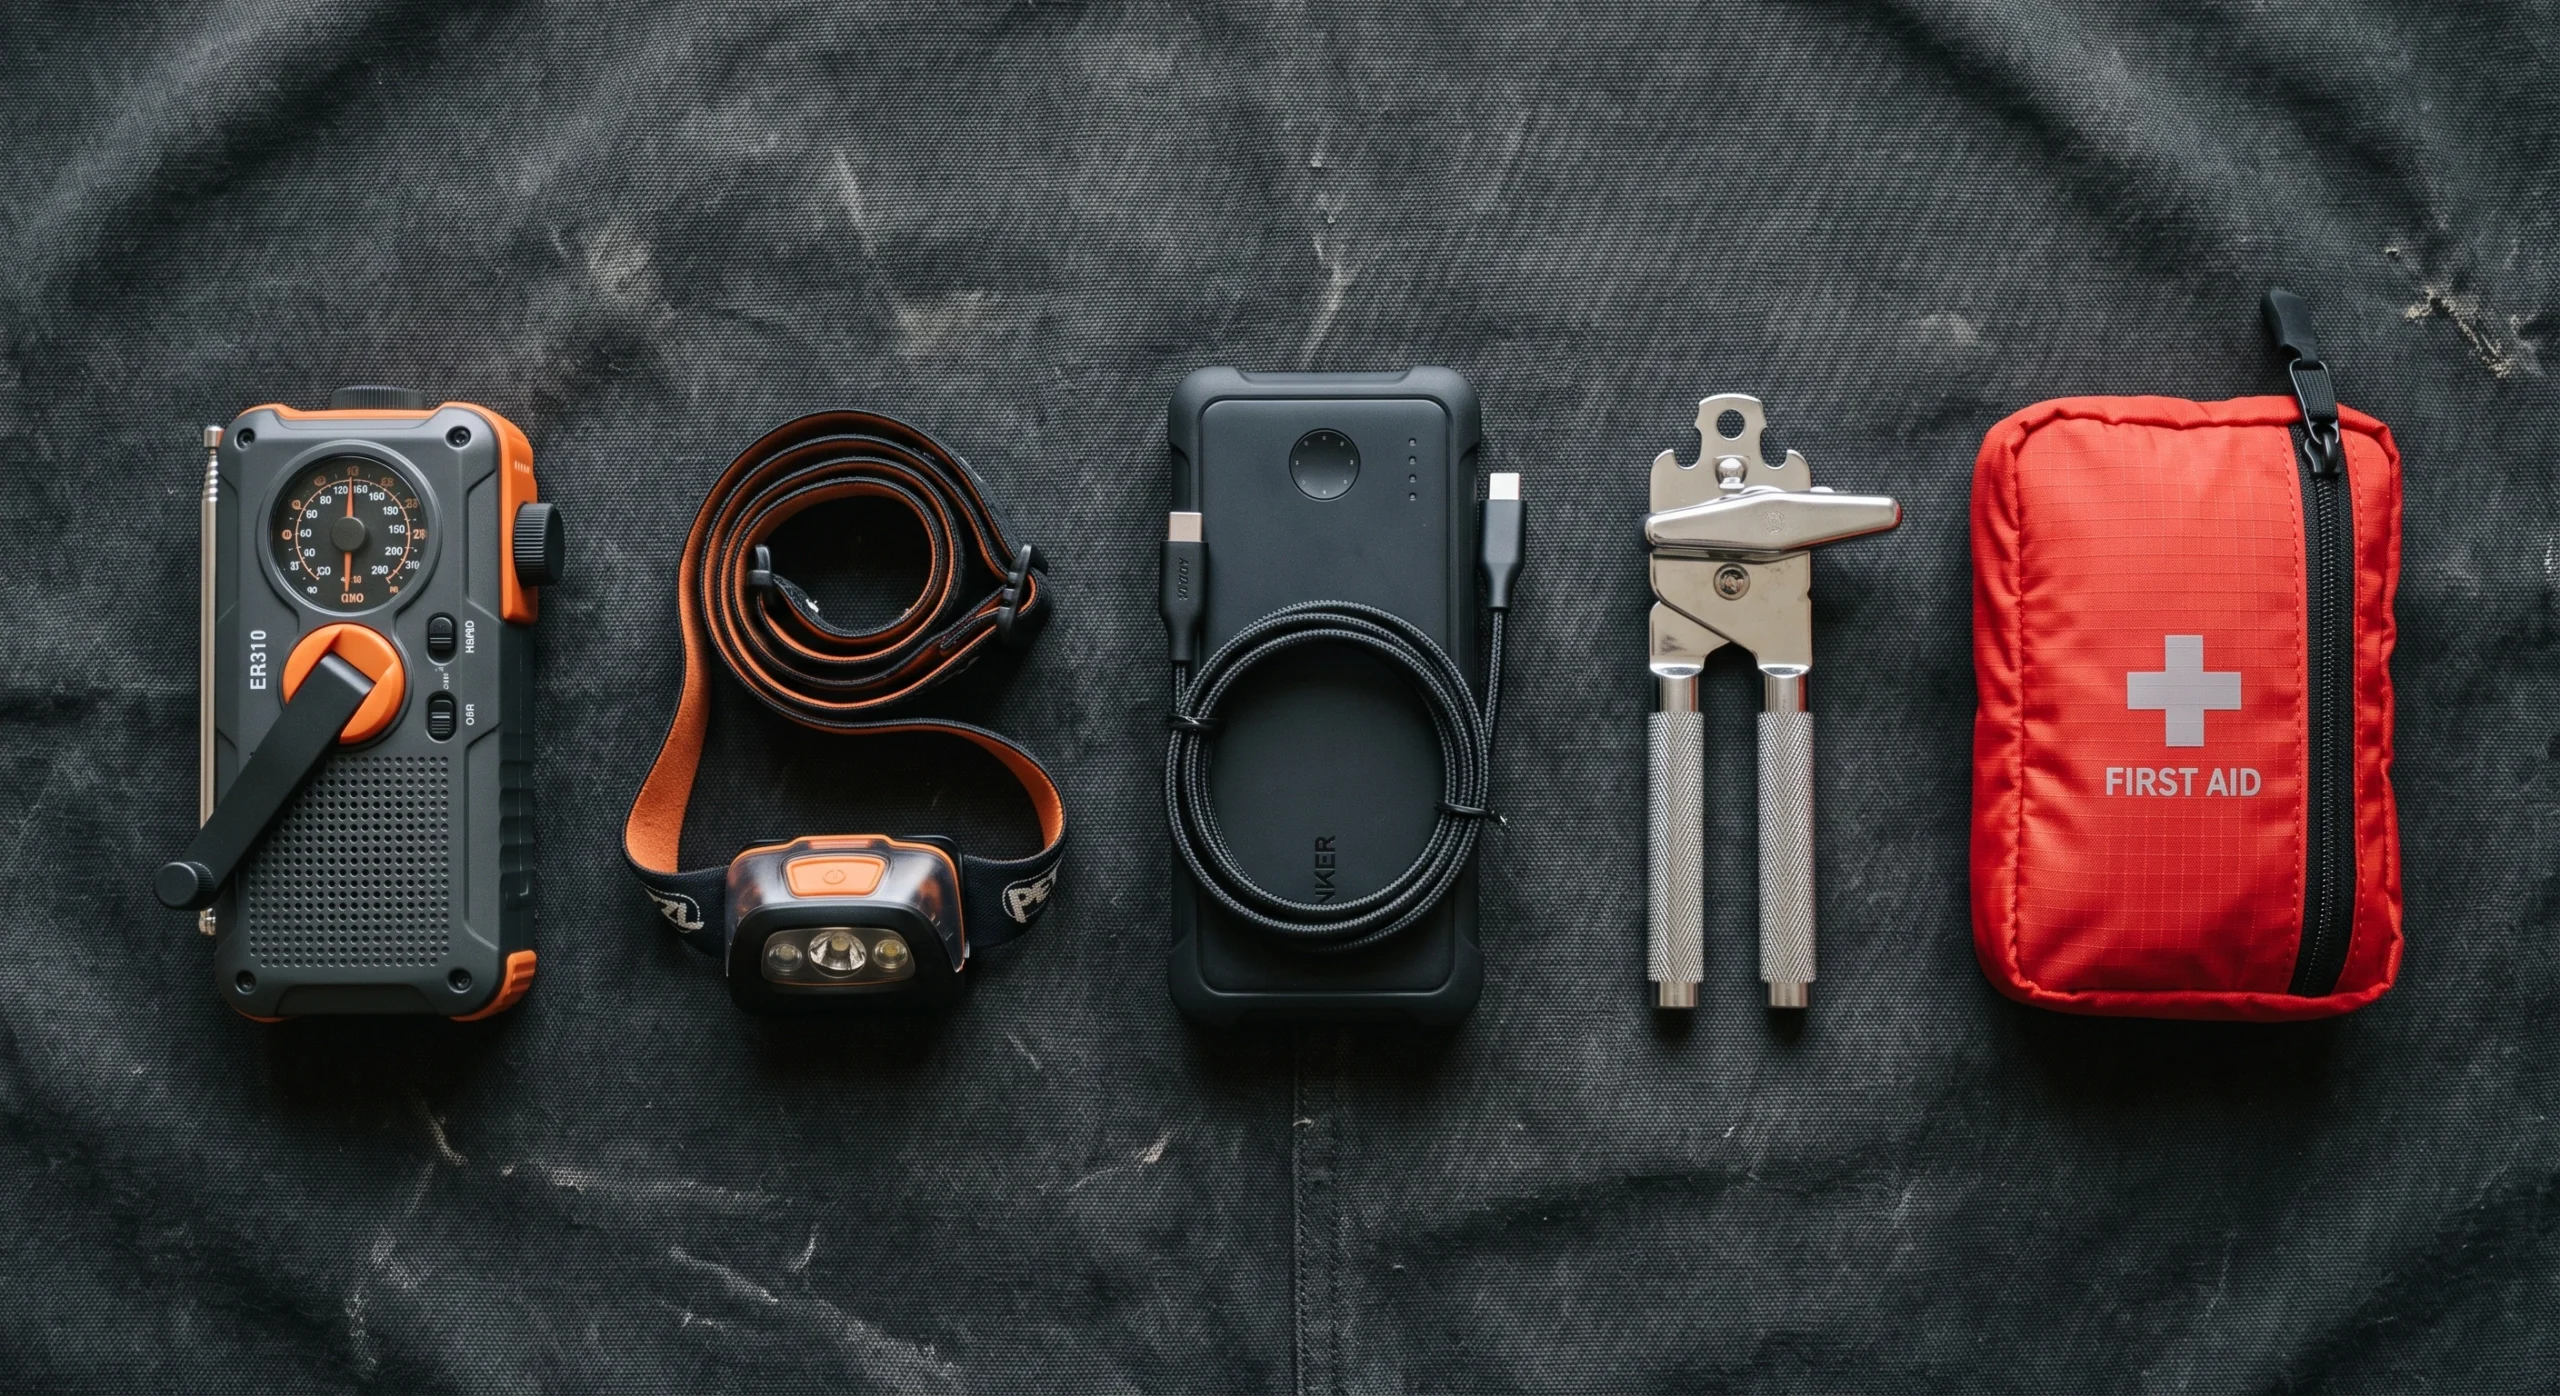
Two items that matter more than their cost suggests. A manual can opener, because the tins are useless without one and the electric one will not work. And food your household will actually eat, especially if there are children, because an emergency is a bad time to introduce unfamiliar food.
Keep tinned food somewhere cool and dry, and boxed food in tightly closed plastic or metal containers.
The radio is the item people skip
FEMA’s list specifies a battery-powered or hand-crank radio with NOAA Weather Radio with tone alert, and this is the most commonly omitted item on the entire list.
The reason it matters is that in a serious event the mobile network is often the first thing to fail or become congested, and it may be the last thing restored. Broadcast radio keeps working when the towers do not. The tone alert function wakes the radio for official warnings, which is the difference between receiving an evacuation order and sleeping through it.
A hand-crank model removes the battery problem entirely. Many include a USB output that will charge a phone slowly, which is a genuine second use.
First aid, and the part that is actually about you
A first aid kit is on every list. The item that is specific to your household is medication.
Prescription medicines are the hardest thing to improvise and the most consequential to run out of. Talk to your pharmacist about keeping a small buffer, understanding that many prescriptions cannot legally be dispensed early. At minimum, keep a current written list of every medication, dose and prescriber where you can grab it.
Also include non-prescription medicines you rely on, spare glasses or contact lenses and solution, and anything specific to an infant or a pet in the household.
Light, power and the small things
Light is the first thing you will want, and the shortest to plan.
Torches and spare batteries, one per person if possible. Head torches are better than handheld ones because they leave both hands free, which matters when you are doing anything practical in the dark. If you have the option, choose a model with a red light mode. Just as it does for stargazing, a red light headlamp preserves your night vision when you need to navigate a pitch-black house.
Avoid candles. Fire risk after an earthquake or a storm, when gas lines may be damaged, is a real and documented hazard.
For power: a phone charger and a charged backup battery pack. A power bank is only useful if it is actually charged, so top it up on a schedule.
Three cheap items that appear on the official lists and are easy to dismiss:
- A whistle, for signalling. It carries much further than shouting and does not exhaust you.
- A wrench or pliers for turning off utilities. If you have a gas supply, know in advance which way the valve turns and where it is.
- A dust mask, for air filtration.
FEMA also lists plastic sheeting, scissors and duct tape for sheltering in place.
Sanitation, which nobody plans for and everybody needs
If the water is off, your toilet stops working within one or two flushes, and this becomes the most pressing problem in the house faster than anyone expects.
The official lists cover it in a single line: moist towelettes, garbage bags and plastic ties for personal sanitation. That line is doing a lot of work.
Practically: heavy-duty bin bags, a supply of toilet paper kept with the kit rather than in the bathroom where it will be used normally, hand sanitiser, and soap. A bucket with a lid turns those bags into something usable.
This is unglamorous and it is the difference between a week that is uncomfortable and a week that becomes a health problem.
Documents and cash
Card payments need power and a network, and both may be gone.
Keep some cash in small denominations. In a widespread outage, card terminals do not work and change is hard to come by.
For documents, keep copies of identification, insurance policies, medical information, bank details and any deeds or leases. The sensible arrangement is both: encrypted digital copies you can reach from a phone, and physical copies in a waterproof bag in the kit, because the digital ones are useless if the phone is dead or the network is down.
Why a 72-hour emergency kit is not your only kit
This is the practical shape the official guidance points to, and it resolves the weight problem.
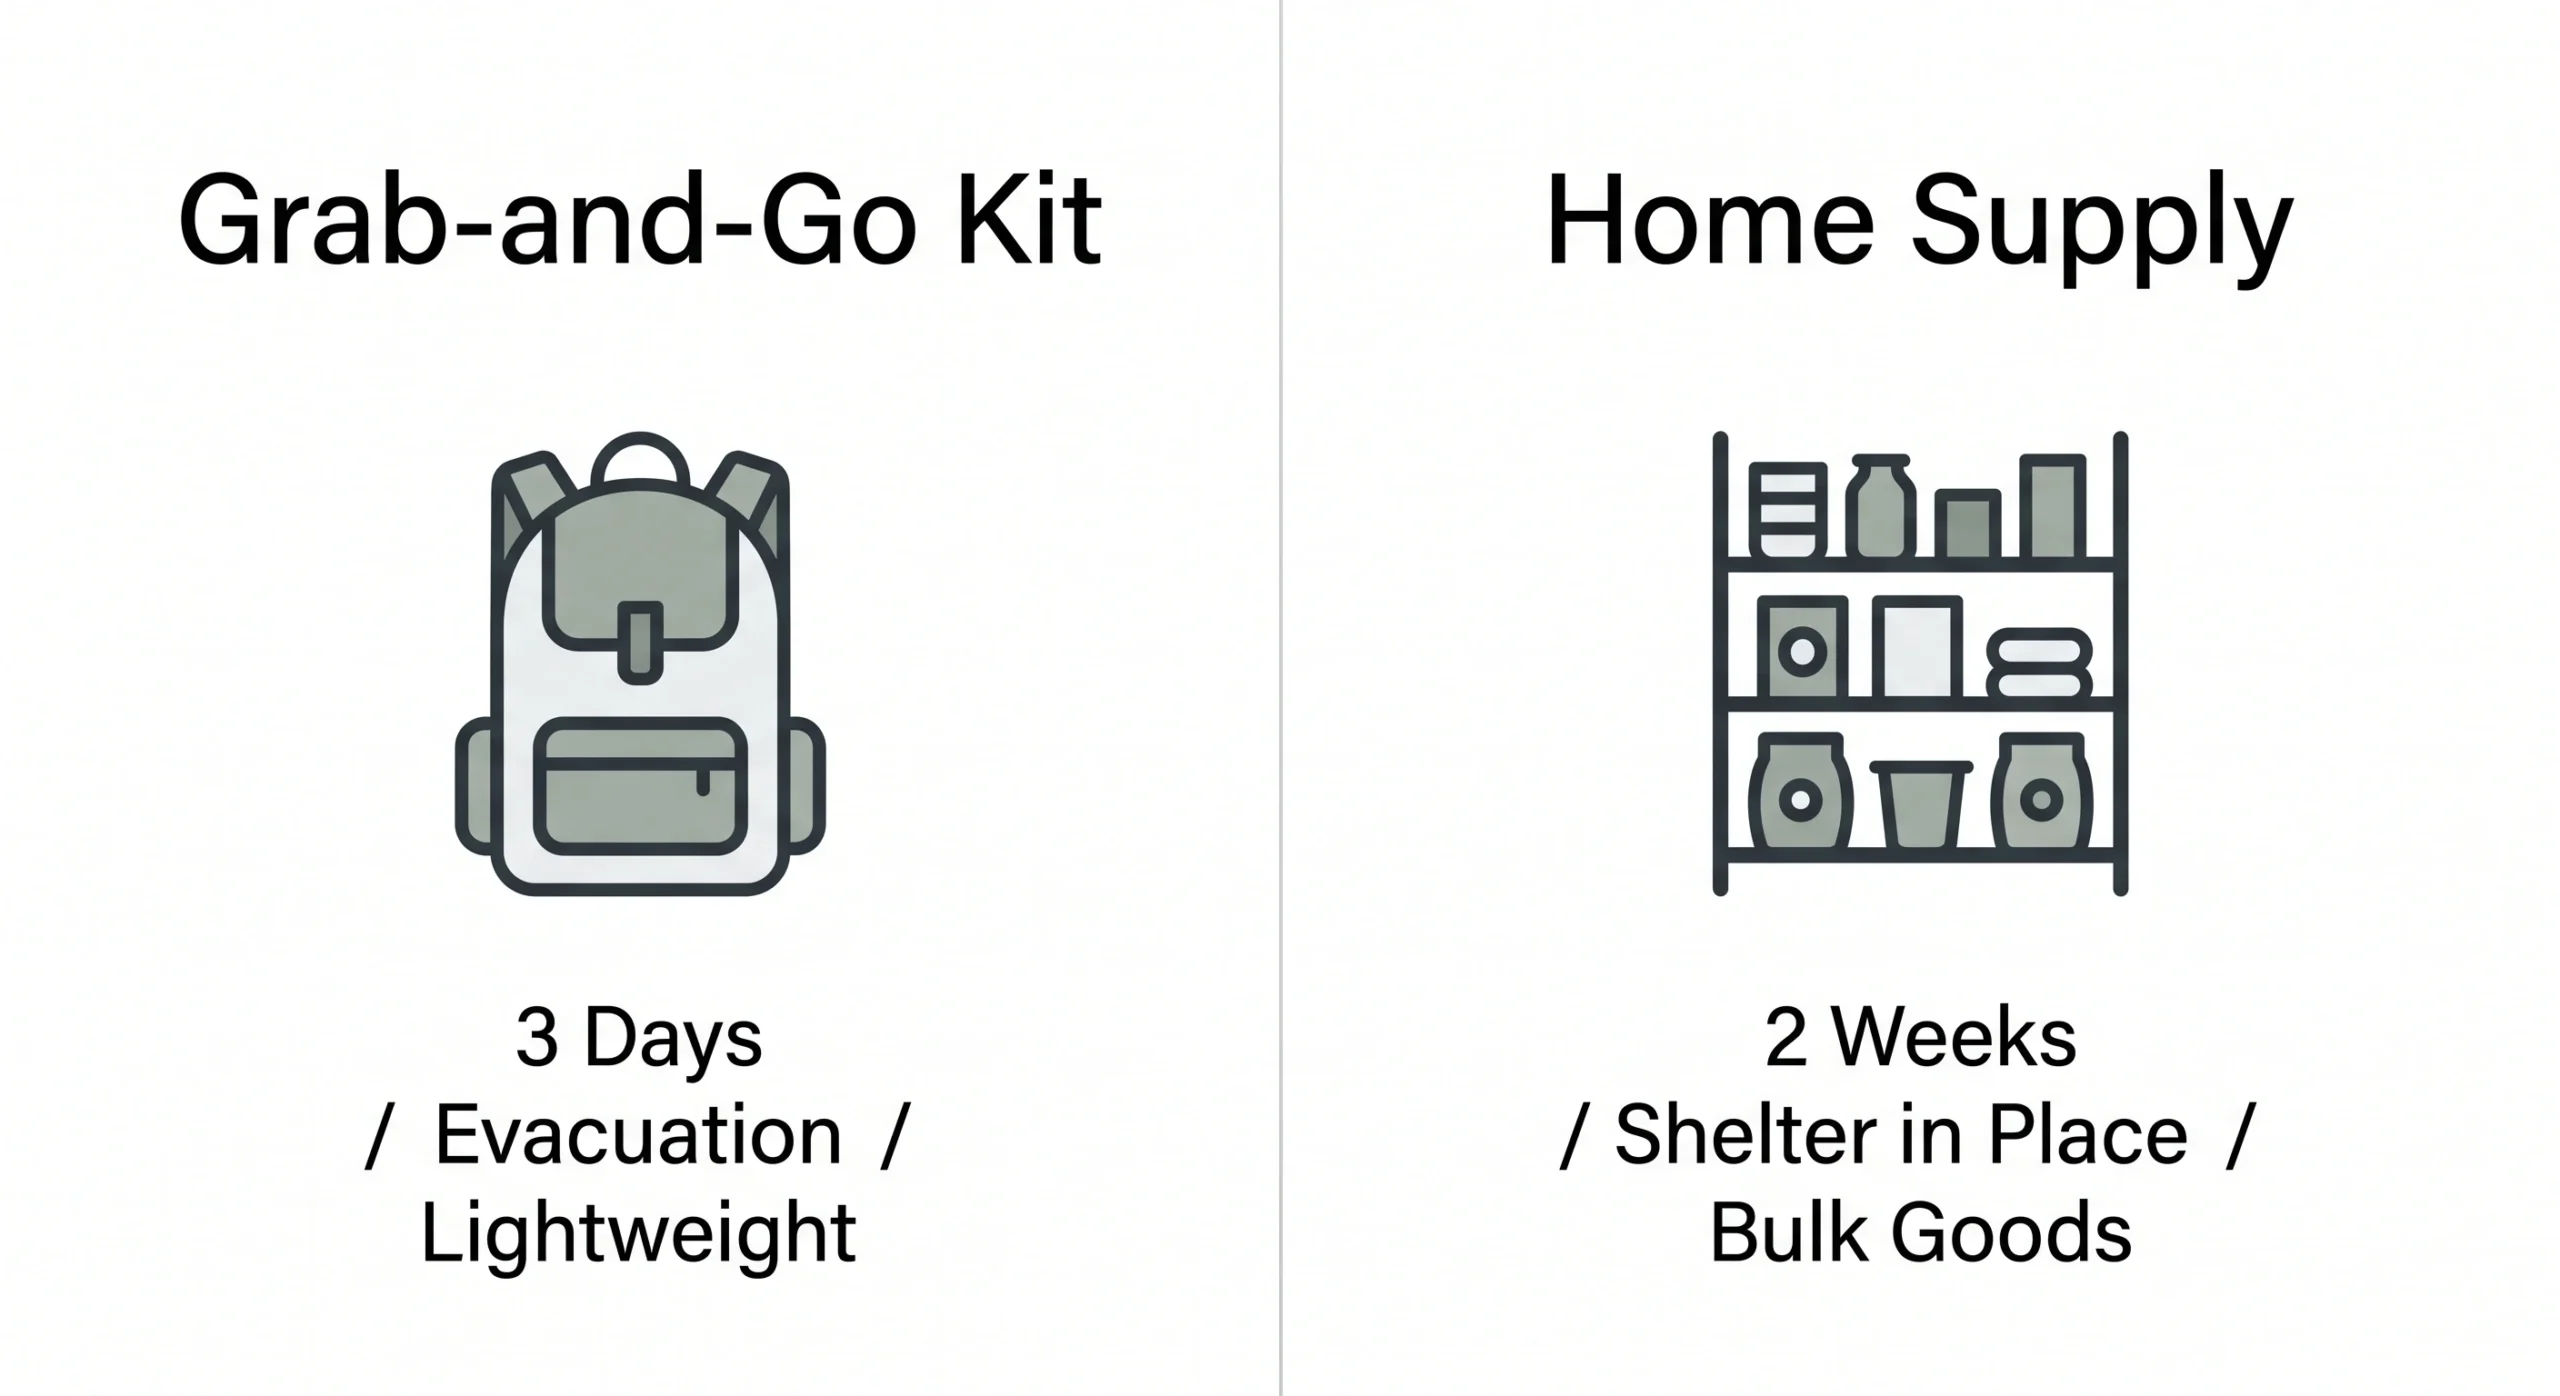
| Grab-and-go kit | Home supply | |
|---|---|---|
| Purpose | Evacuation, leaving quickly | Sheltering at home |
| Duration | 3 days | 2 weeks (Red Cross) |
| Water | What you can carry, plus a way to treat more | 1 gallon per person per day, stored |
| Food | Lightweight, no cooking, no water needed | Tinned and dry goods you already eat |
| Where | By the door, in a bag or two | Cupboard, garage, under the stairs |
| Test | Can you carry it? | Does it last two weeks? |
FEMA also recommends separate smaller kits for your workplace, enough for 24 hours, and for your vehicle, on the reasonable basis that emergencies do not wait until you are at home.
Build it gradually
The official printable supply checklist is a practical way to track what you already have.
You do not need to buy all of this at once, and treating it as a single expensive shopping trip is the most common reason people never start.
- Week one: water, a torch, and a manual can opener.
- Week two: three days of tinned food you would eat anyway, plus a first aid kit.
- Week three: the radio, batteries, and a power bank.
- Week four: sanitation supplies, cash, copies of documents.
- Then: extend the home food and water supply toward two weeks as your budget allows.
Once it exists, keep it alive. Check it twice a year, replace anything expired, rotate home-filled water, confirm the batteries and the power bank still hold charge, and update the document copies when anything changes. FEMA suggests reviewing the kit annually as household needs change, which is the minimum.
Put a recurring reminder in your phone. A kit assembled once and forgotten for six years contains flat batteries, expired medicine and a power bank that will not hold charge, which is worse than knowing you do not have one.
The realistic version
A complete kit built to official specification is a project. A useful kit is not.
Water, a torch, a radio, a can opener and three days of tinned food will carry a household through the overwhelming majority of what actually happens: a multi-day power cut, a storm, a boil-water notice, a road closed by flooding.
Start there. The rest can accumulate over months, and the difference between nothing and the basics is far larger than the difference between the basics and a perfect kit.